2 Syntax
BlockML source text consists of plain text and markup elements. BlockML markup has always these structure:

A markup element begins with a selector, which specifies the type of the element. The selector is as short as possible and often inspired by HTML tag names.
The selector is followed by one or more blocks, depending on the type of the element. Blocks contain content and are not interchangeable. Some elements have one optional block at their end, for example the img-element with its optional size specification:
img[cat.png]
img[cat.png][300, 200]
The content has to be plain text in some blocks, while other blocks can contain plain text and further markup. For instance, the element for inline code has to contain only plain text like: c[UITableView]. An instance for a markup element that could contain other markup is the section element: sec[Overview][An instance of c[UITableView]...]. You can think of blocks like of arguments for a method: a block on a certain position expects a certain input.
3 Markup elements
3.1 Paragraphs, line breaks and white space
Paragraphs and line breaks work exactly like you would except. To create new paragraphs use 2 LFs (press 2 times Enter). To create line breaks use 1 LF.
This is a paragraph.↵
↵
This is a second paragraph.↵
This is a new line.
Useless whitespace gets removed from the compiler.
↵
↵
↵
↵
The BlockML compiler removes useless white space like the LFs above.↵
••••Or this TAB in front of this sentence.
3.2 Title
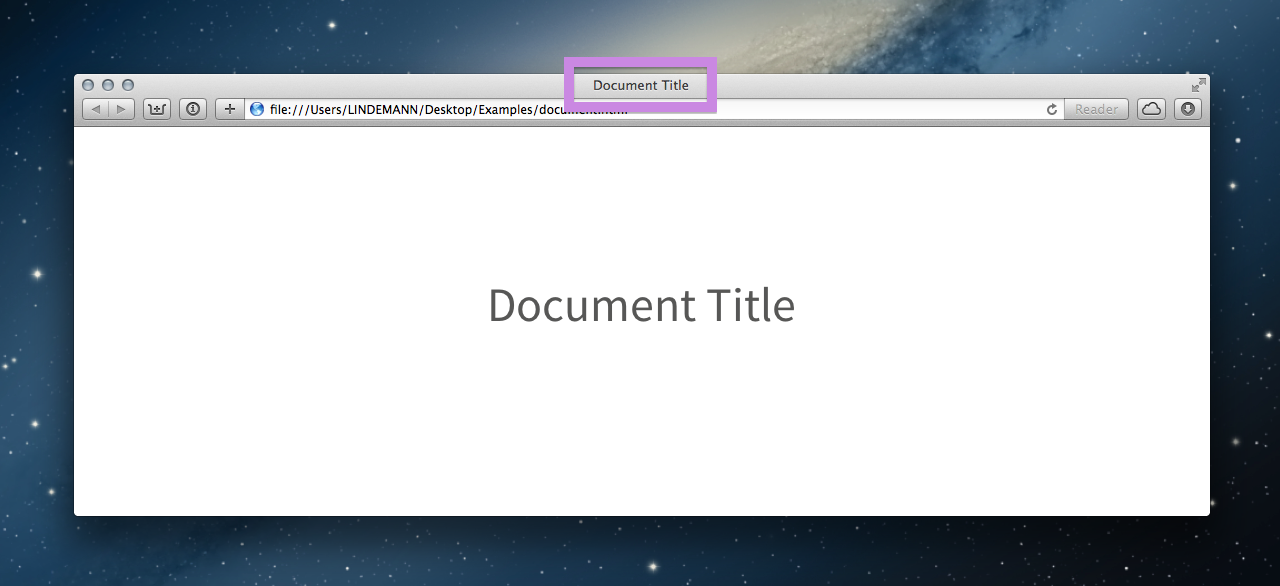
This element creates a centered, clown sized heading and it sets the <title> of your HTML document.
title[Document Title]
Document Title
3.3 Headings
There are headings from <h1> - <h6>. Headings don't get used for the Table of Contents (see 3.6 Table of contents).
h1[Heading 1]
h2[Heading 2]
h3[Heading 3]
h4[Heading 4]
h5[Heading 5]
h6[Heading 6]
Heading 1
Heading 2
Heading 3
Heading 4
Heading 5
Heading 6
3.4 Document head
Use head[Content] to create a nice looking header for your document.
Allowed contents for this element are title and h1-h6.
head[
title[Document Title]
h2[Heading 2]
h6[Heading 6]
]
Document Title
Heading 2
Heading 6
3.5 Sections
Sections consist of a section heading and section content.
sec[Heading][Content]
These content can be text and every BlockML markup element, regardless that not every element makes sense in that context, for example title and toc elements.
Nest the sections to get a section hierarchy.
sec[Section Heading][

sec[SubSection Heading][Content]/* SubSection */

]/* Section */
1 Section Heading
1.1 SubSection Heading
Content
A complex example:
sec[Section Heading][

sec[SubSection Heading][Content]/* SubSection */

sec[SubSection Heading][

sec[SubSubSection Heading][Some other content]/* SubSubSection */

]/*SubSection*/

]/* Section */

sec[Section Heading][Content too]/*Section*/
1 Section Heading
1.1 SubSection Heading
Content
1.2 SubSection Heading
1.2.1 SubSubSection Heading
Some other content
2 Section Heading
Content too
3.6 Table of contents
To get a table of contents use the toc-element. The table of contents gets assembled from the section headings.
toc[TOC Title]
The table of contents for the section example above looks like this:
TOC Title
- 1 Section Heading[⚐]
- 1.1 SubSection Heading[⚐]
- 1.2 SubSection Heading[⚐]
- 1.2.1 SubSubSection Heading[⚐]
3.8 Images
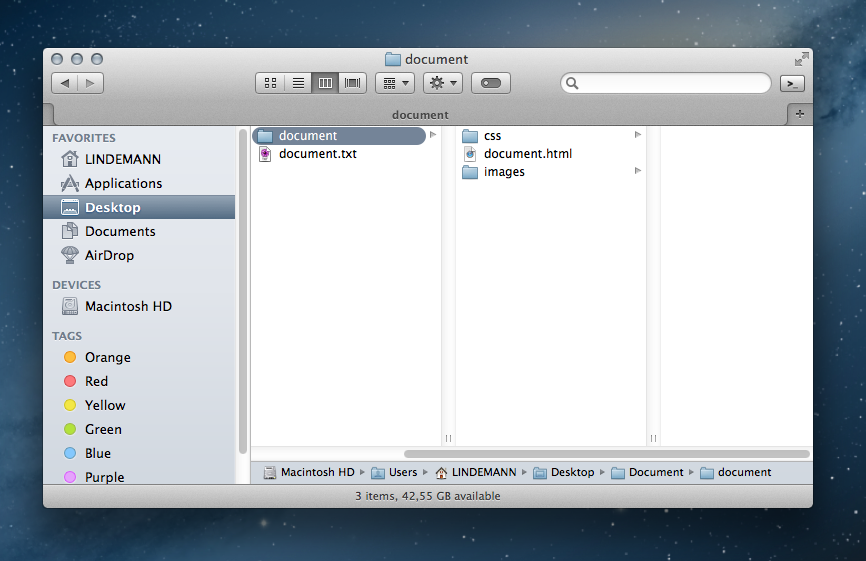
To embed a local image into the document, copy that image into the auto generated images-folder, which is part of the output-folder. Then embed the image name without any path references.

img[localImage.png]

You can also embed images from the internet, when you use their URL.
img[http://internetImage.jpg]
If an image doesn't fit into the document, resize its width or its height or both with a second block: [w, h]
Don't forget the comma!
/*adjust width and height*/
img[localImage.png][400, 300]

/*adjust only the width*/
img[localImage.png][400,]

/*adjust only the height*/
img[localImage.png][,300]
3.9 Code listings
Code listings uses the following syntax:
code[Language][Code]
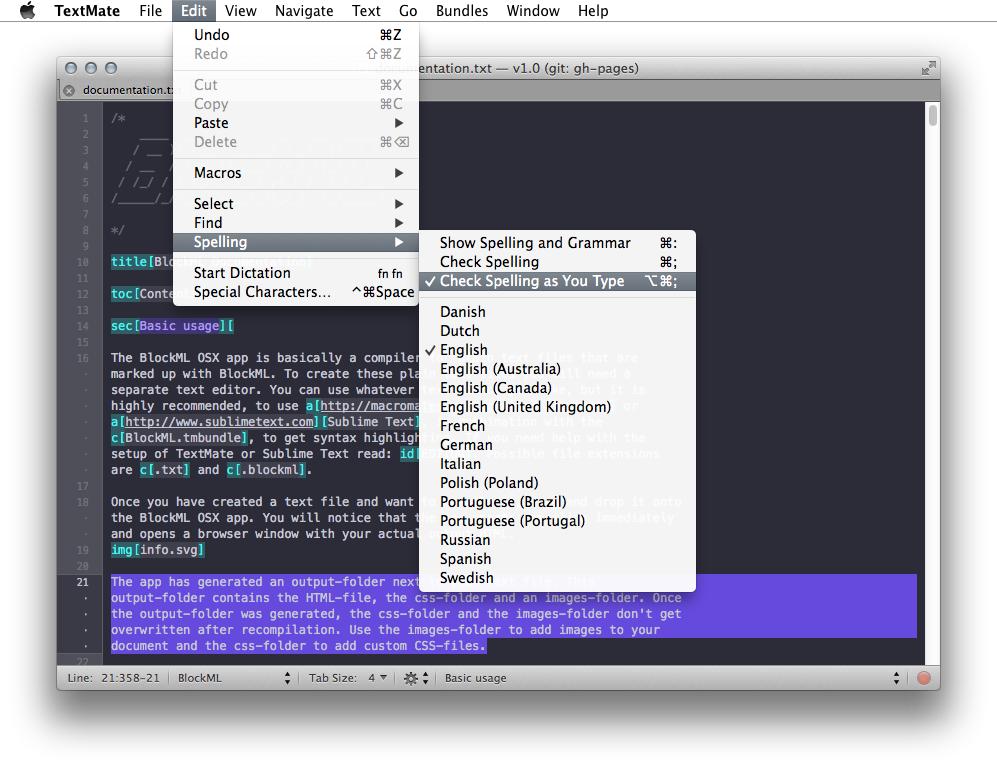
BlockML makes use of Highlight.js to provide syntax highlighting. In order to get proper highlighting you have to specify the programming language. You find a list of all available languages under: http://highlightjs.org/static/test.html. Use no-highlight if you don't want syntax highlighting.
code[java][System.out.println("Hello World!");]
System.out.println("Hello World!");
You have to escape all square brackets in your code. For more information read 5 Escape of special characters.
code[objectivec][self.scanner = \[Scanner scannerWithString:string\];
self.document = \[HTMLDocument new\];]
self.scanner = [Scanner scannerWithString:string];
self.document = [HTMLDocument new];
3.10 Math formulas
Since BlockML uses MathJax for mathematics rendering you can use TeX/LaTeX or MathML syntax.
Use math[Formula] for larger equations that stay separated by themselves. The delimiters for TeX/LaTeX formulas are $$...$$ or \[...\].
math[$$x = {-b \pm \sqrt{b^2-4ac} \over 2a}$$]
$$x = {-b \pm \sqrt{b^2-4ac} \over 2a}$$
Or use im[Formula] for inline mathematics. The TeX/LaTeX inline delimiters are $...$ or \(...\).
Some inline mathematics: im[$a \ne 0$].
Some inline mathematics: $a \ne 0$.
You have to escape all square brackets and backslashes. For more information read 5 Escape of special characters.
3.11 Tables
The BlockML tables are very similar to HTML tables. There are the 4 markup elements to build a table:
- table[]: creates a table
- tr[]: creates a table row
- th[]: creates a table header cell
- td[]: creates a table data cell
To assemble a table create at first a table-element:
table[
]
Then add the rows:
table[
tr[]
tr[]
]
Finally, add th-cells and td-cells:
table[
tr[ th[Header 1] th[Header 2] ]
tr[   td[Data 1]   td[Data 2] ]
]
|
Header 1
|
Header 2
|
|
Data 1
|
Data 2
|
Another simple example:
table[
tr[ th[Header 1] td[Data 1] ]
tr[ th[Header 2] td[Data 2] ]
]
|
Header 1
|
Data 1
|
|
Header 2
|
Data 2
|
Add a second block, to specify the number of rows or columns a td-cell or a th-cell should span. [h:number] creates a horizontal span and [v:number] creates a vertical span.
In this example th[Header][h:2] creates a horizontal span over 2 columns.
table[
tr[ 	  th[Header][h:2] ]
tr[ td[Data 1] td[Data 2] ]
]
In this example th[Header][v:2] creates a vertical span over 2 rows.
table[
tr[ th[Header][v:2] td[Data 2] ]
tr[                 td[Data 1] ]
]
And in this example td[Data 1][h:2] creates a horizontal span over 2 columns.
table[
tr[ th[Header 1] th[Header 2] ]
tr[           td[Data 1][h:2] ]
]
3.12 Captions
You should use captions directly after image-, code-, math- or table-elements. To create a caption use:
cap[Type][Description]
The first block specifies the type of the caption like: Listing, Fig., Figure, Table, Abbildung...The second block contains the description text to your image-, code-, math- or table-elements.
Captions of the same type get numbered consecutively. Captions of another type have their own consecutive numbering.
img[image01.png][300,]
cap[Fig.][An image]

code[python][print("Hello, world!")]
cap[Listing][A code listing]

img[image02.png][300,]
cap[Fig.][Another image]

code[lisp][(display "Hello, world!")]
cap[Listing][Another code listing]

Fig. 3.1: An image
print("Hello, world!")
Listing 3.1: A code listing

Fig. 3.2: Another image
(display "Hello, world!")
Listing 3.2: Another code listing
3.13 Lists
3.13.1 Unordered lists
To create unordered lists use the ul[]-element and add your list items to it. You can use dashes - in front of items to emphasize the list structure, but you don't have to. The whitespace between dash and item is irrelevant.
You can nest your lists with other unordered or ordered lists. See an example in Listing 3.3.
ul[
- item
- item
- item
]
ul[
item
-item
 - item
]
3.13.2 Ordered lists
Ordered lists work in the same way like unordered lists.
ol[
- item
- item
- item
]
- item
- item
- item
An example with nested lists:
ol[
- item
- item
	ul[
	- item
	- item
	- item
	]
]
Listing 3.3: Nested lists
- item
- item
3.14 Footnotes
For footnotes use fn[Content]. All footnotes get added to the end of the document.
Some text with a footnote fn[Content].
Some text with a footnote [1].
3.15 Cross references
Basically, cross references to captions, sections and bibliography items work almost the same. At first, specify an UID with id[UID]. An UID is an unique string, which should only used for one reference.
Use the id at this place in your text, where you want to mention the reference.
Some text with a reference id[UNIQUE].
Read the following sections, to see how to connect an id with your captions, sections or bibliography items.
3.15.1 References to captions
Add a further block to your caption that contains the UID.
cap[Type][Description][UID]
Here is an example with an image-caption. The UID is "IMG01":
img[image01.png][300,]
cap[Figure][Image][IMG01]

Look at id[IMG01].
Figure 3.1: Image
Look at Figure 3.1.
3.15.2 References to sections
Add a further block to your section that contains the UID.
sec[Section Heading][Content][UID]
Here is an example with "SEC" as UID:
For more information see id[SEC].

sec[Section Heading][
Content
][SEC]
For more information see 1 Section Heading.
1 Section Heading
Content
3.15.3 References to bibliography items
bibliography items own by default an UID-block.
bib[UID][Publication Details]
Here is an example with "BIB01" as UID:
...(figure taken from id[BIB01])

bib[BIB01][Author, Title, Date]
...(figure taken from [BIB01])
3.16 Bibliography
To reference a publication use the following syntax:
bib[UID][Publication Details]
The UID is an unique string, which should only used for one bibliography item.
The publication details must become formatted by your self, in a bibliography style of your choice.
If two or more bibliography items follow each other, they get sorted alphabetically by their UIDs.
It might be best practice to collect all bibliography items in a separate "References"/"Bibliography" section or place them at the end of the document. The UID should not be longer then 6 characters and should contain a little bit context to the publication.
Some examples:
bib[SKETCH][Ivan Sutherland.  Sketchpad: A Man-Machine Graphical Communication System. MIT, 1963. a[http://www.cl.cam.ac.uk/techreports/UCAM-CL-TR-574.pdf][PDF]]

bib[DNA][James Watson and Francis Crick. A Structure for Deoxyribose Nucleic Acid. Nature 171, 737-738, 1953. a[http://www.nature.com/nature/dna50/watsoncrick.pdf][PDF]]
[DNA]↵
James Watson and Francis Crick. A Structure for Deoxyribose Nucleic Acid. Nature 171, 737-738, 1953. PDF
[SKETCH]↵
Ivan Sutherland. Sketchpad: A Man-Machine Graphical Communication System. MIT, 1963. PDF
3.17 Quotes
There are block quotations with or without a source.
q[Quote][Source]
q[Quote]
3.18 Text styles
You can style your text as bold, italic, underlined, marked, strikethrough, subscript text, superscript text, and as inline code.
3.18.1 Bold
My b[bold] text.
My bold text.
3.18.2 Italic
My i[italic] text.
My italic text.
3.18.3 Underlined
My u[underlined] text.
My underlined text.
3.18.4 Marked
My m[marked] text.
My marked text.
3.18.5 Strikethrough
My s[strikethrough] text.
My strikethrough text.
3.18.6 Subscript
My subscript sub[text].
My subscript text.
3.18.7 Superscript
My superscript sup[text].
My superscript text.
3.18.8 Inline Code
My c[inline code].
My inline code.
3.19 Embed HTML
3.19.2 Block HTML
Embed block-level HTML with html[HTML Code].
Example:
html[<h1>Text</h1>]
Text
3.20 Comments
Out comment text with /*...*/.
/* Comment */

/* Comment
over
multiple
lines */

Some text with a comment /* a[http://awwapps.com] */ inside.
4 Block-level and inline-level markup
Since BlockML has to be compilable to HTML, its feature set is closely linked to the capabilities of HTML. Like HTML BlockML has block level markup and inline markup.
Inline-level markup
Inline level markup can appear within plain text or some block-level elements.
a, fn, id, ih, im, c, b, u, i, s, m, sub, sup
Block-level markup
Block-level elements may appear within a sec-element or separated on a new line.
title, head, toc, sec, h1...h6, img, math, code, ul, ol, q, cap, bib, table, html
5 Escape of special characters
Since square brackets [] have a very special meaning in BlockML, it is necessary to escape them, if you want to use them in a non markup context. For example in code or mathematical formulas.
Here is a typical code example:
[self.window orderFront:self];
To escape the square brackets just set a backslash \ in front of them.
\[self.window orderFront:self\];
The backslash \ has a special meaning as escape symbol, you have to use two backslash \\ in order to print one. This can get a little bit messy in fancy TeX/LaTeX formulas.
For example in this TeX/LaTeX formula:
\begin{aligned}
\dot{x} & = \sigma(y-x) \\
\dot{y} & = \rho x - y - xz \\
\dot{z} & = -\beta z + xy
\end{aligned}
You have to write this:
math[\\begin{aligned}
\\dot{x} & = \\sigma(y-x) \\\\
\\dot{y} & = \\rho x - y - xz \\\\
\\dot{z} & = -\\beta z + xy
\\end{aligned}]
And get this result:
\begin{aligned}
\dot{x} & = \sigma(y-x) \\
\dot{y} & = \rho x - y - xz \\
\dot{z} & = -\beta z + xy
\end{aligned}
But luckily the BlockML App helps to manage all the backslashes. Just insert your code or equation to the upper textfield and use the text from the textfield below.